Project Overview
Building a Robot
As a kid I loved watching Robot Wars (similar to BattleBots, for those in the US). It was so cool seeing these crazy machines built by fairly regular people in their garages, and I always wanted to build my own robot when I grew up.
Fast-forward 20 years or so and the technology to make robots is now available to almost everyone. In fact, those old robots seem like a glorified RC car in comparison to what a hobbyist can do now. In that time we’ve seen the introduction or adoption of things like Wi-Fi, cellular data - 3G, 4G, 5G, smart phones, tablets, Arduino, Raspberry Pi, cheap cameras, cheap lidars, ROS, Gazebo, and more.
While it still takes a bit of work, thanks to hardware like the Raspberry Pi and Arduino, and software like ROS, it's easier than ever to make your own robot. I've previously experimented with using ROS to build a small robot, and I've decided to rebuild it from scratch, documenting as I go.
The aim is to build a fairly low-cost mobile robot, that can at least:
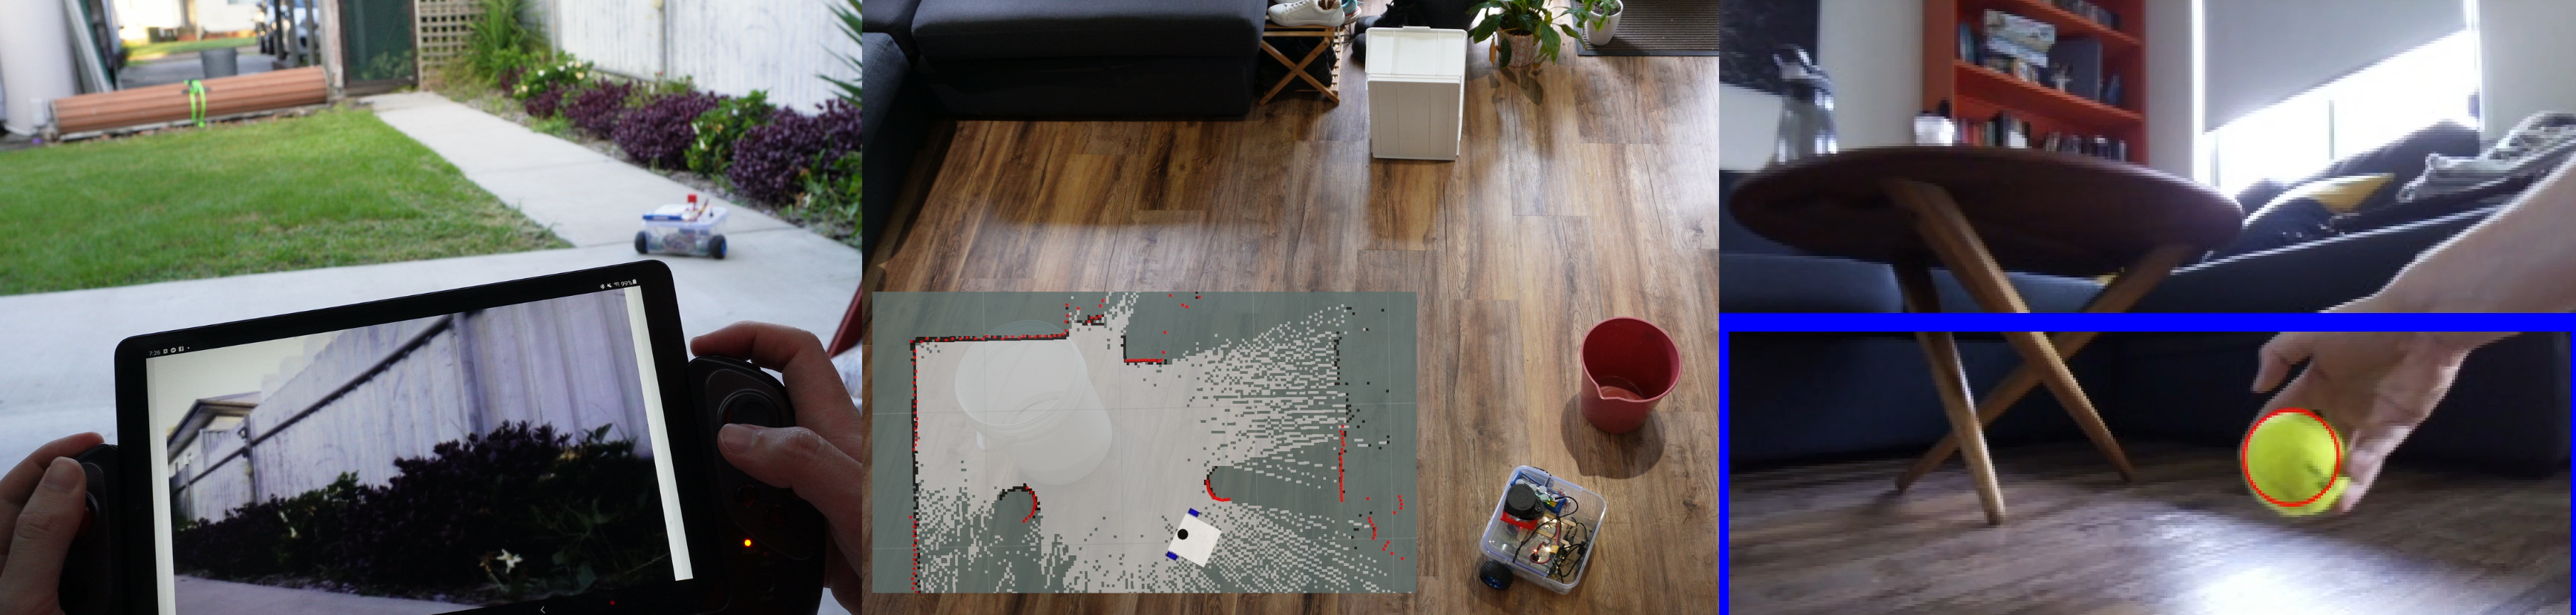
- Be remote controlled from a phone, with camera feedback (teleoperation)
- Use lidar and SLAM to generate a map of a room and navigate autonomously
- Use a camera with OpenCV to detect objects and follow them
But I don’t want to build this alone - my hope is that you’ll be inspired to build a robot too! I’ll be going reasonably in-depth and hopefully covering everything you need to go and build this yourself. We'll have the joy of building something, and seeing it work, while learning to use state-of-the-art tools.
Who’s this project for?
While this project maybe isn’t for everyone, you might be surprised just how accessible it is! In particular there are two barriers to reconsider - people who can’t afford the parts, and people who don’t think they’re smart enough.
I can’t afford this!
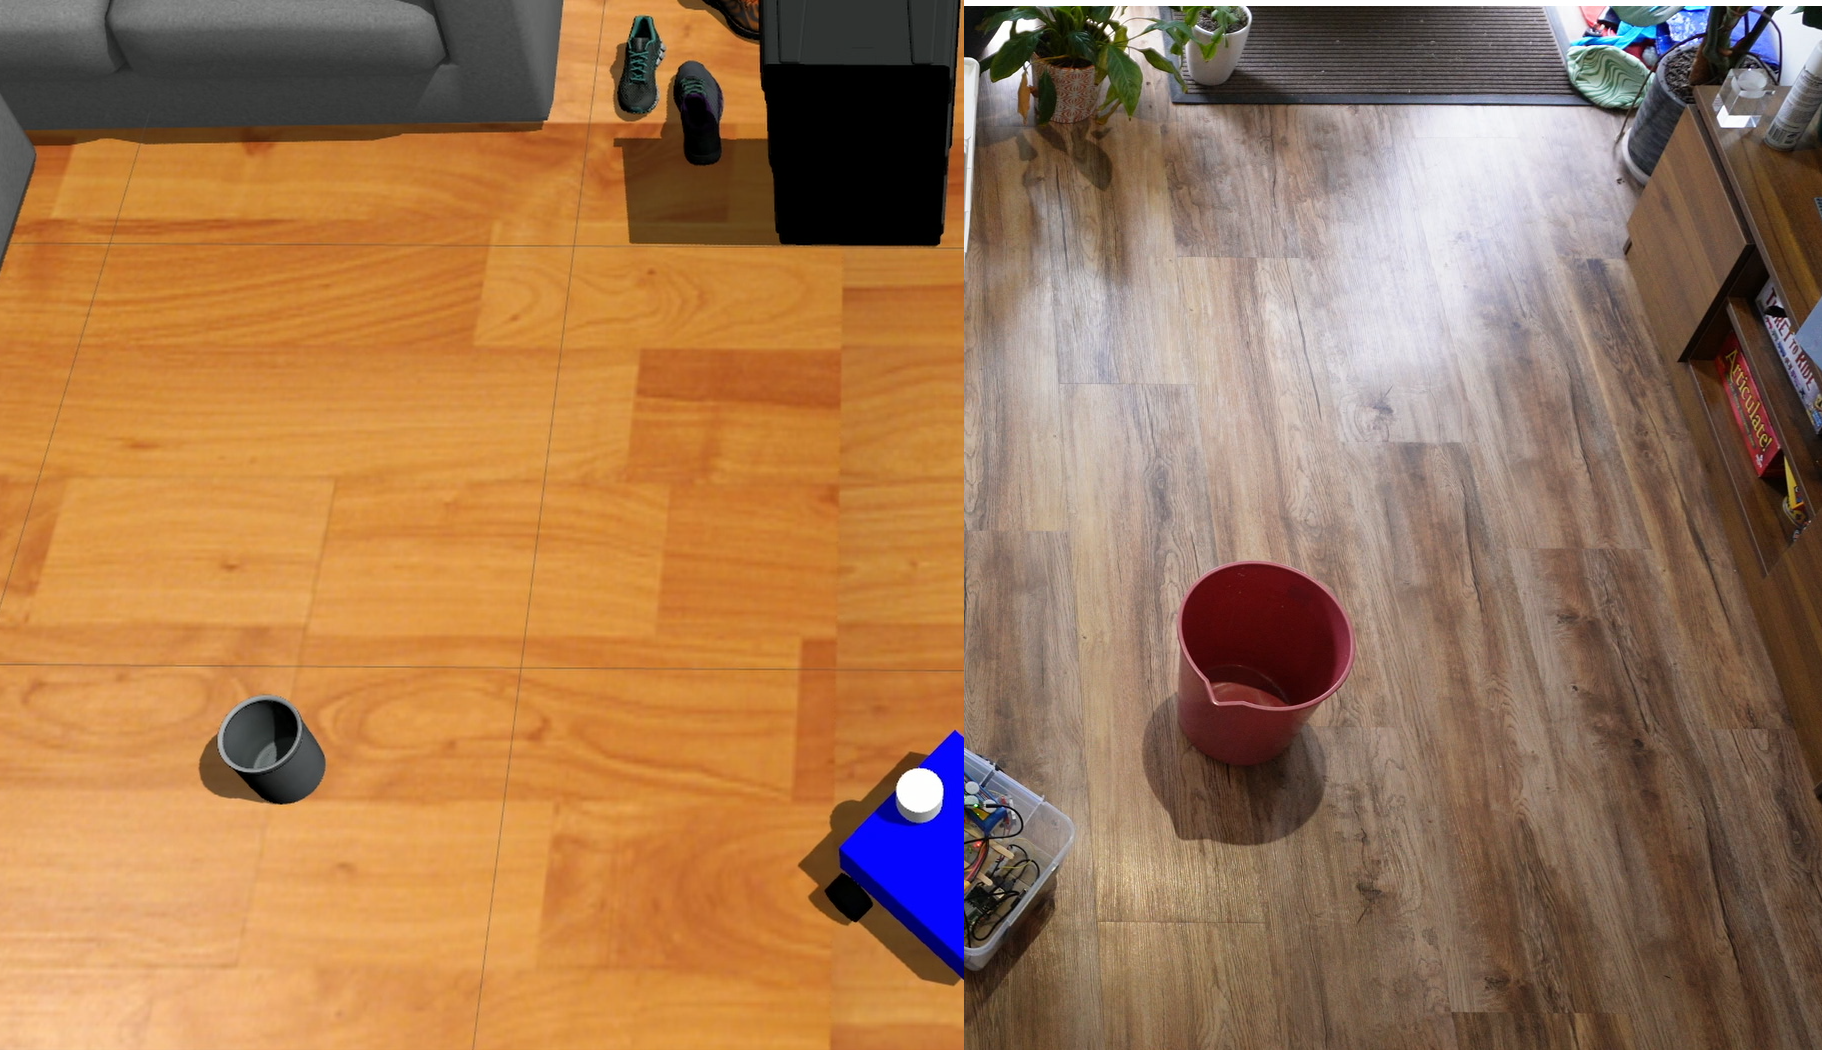
If you like the idea of building a robot but don't have the money or parts at the moment - there’s some good news. At each step we’ll be doing everything in simulation first, before using real hardware. This means you can do most of the interesting parts using just the computer you already have (if it’s decent enough).
Having a fully simulated version of the robot not only gives us a chance to try some things out before we commit to buying parts, or while we wait for them to arrive, it's still valuable once we've got the robot built as it's usually quicker - and safer - to experiment with new ideas and algorithms in simulation-land first, before trying them on real hardware.
Just because we’re doing things in simulation or on cheap hardware, doesn’t make it any less legit. The same free software that we’ll be using, for running our robot and also our simulations, is used by real companies on robots that are worth hundreds of thousands of dollars!
I’m not smart enough!
You might also look at a project like this and think "that all seems really hard - I don’t think I’m smart enough for this, or I don’t have the right backround knowledge".
Now, if you're someone who has any experience with:
- The command-line (the terminal) before, especially in Linux
- Wiring and electronics
- Programming
Then you should be able to follow along without too much trouble at all.
For everyone else, that's not a reason to leave just yet, it's a chance to learn! For the most part you'll be able to just copy-and-paste from here, and anything not covered will definitely be available somewhere else on the internet.
As long as you know your way around a computer fairly well and are ready to try new things, this is a project you could probably do. Even better, if you have a friend or family member who knows a bit more about this stuff, this would be a great project to work on together!
Some things that this project won’t involve are:
- Serious programming (The small amount of code writing involved can be cut/pasted)
- Difficult mathematics (Basic trigonometry is about as tricky as it will get)
That being said, there are plenty of opportunities to take this platform and extend on it if you do want to push yourself further.
The Project
Robot Overview
So what is this robot going to be like? Below you can see some pictures of the prototype I made - hopefully things will be a bit cleaner by the end of this rebuild! You can see it’s got two motors to drive the main wheels, and it should have an extra free-spinning caster wheel to keep it balanced (right now it skids around on some plastic). On the top, we've got a camera at the front, a lidar at the back, and a battery too. At the front there's a touchscreen, but right now its only purpose is to display funny graphics - very optional. All of this is currently housed in a plastic container from the supermarket.
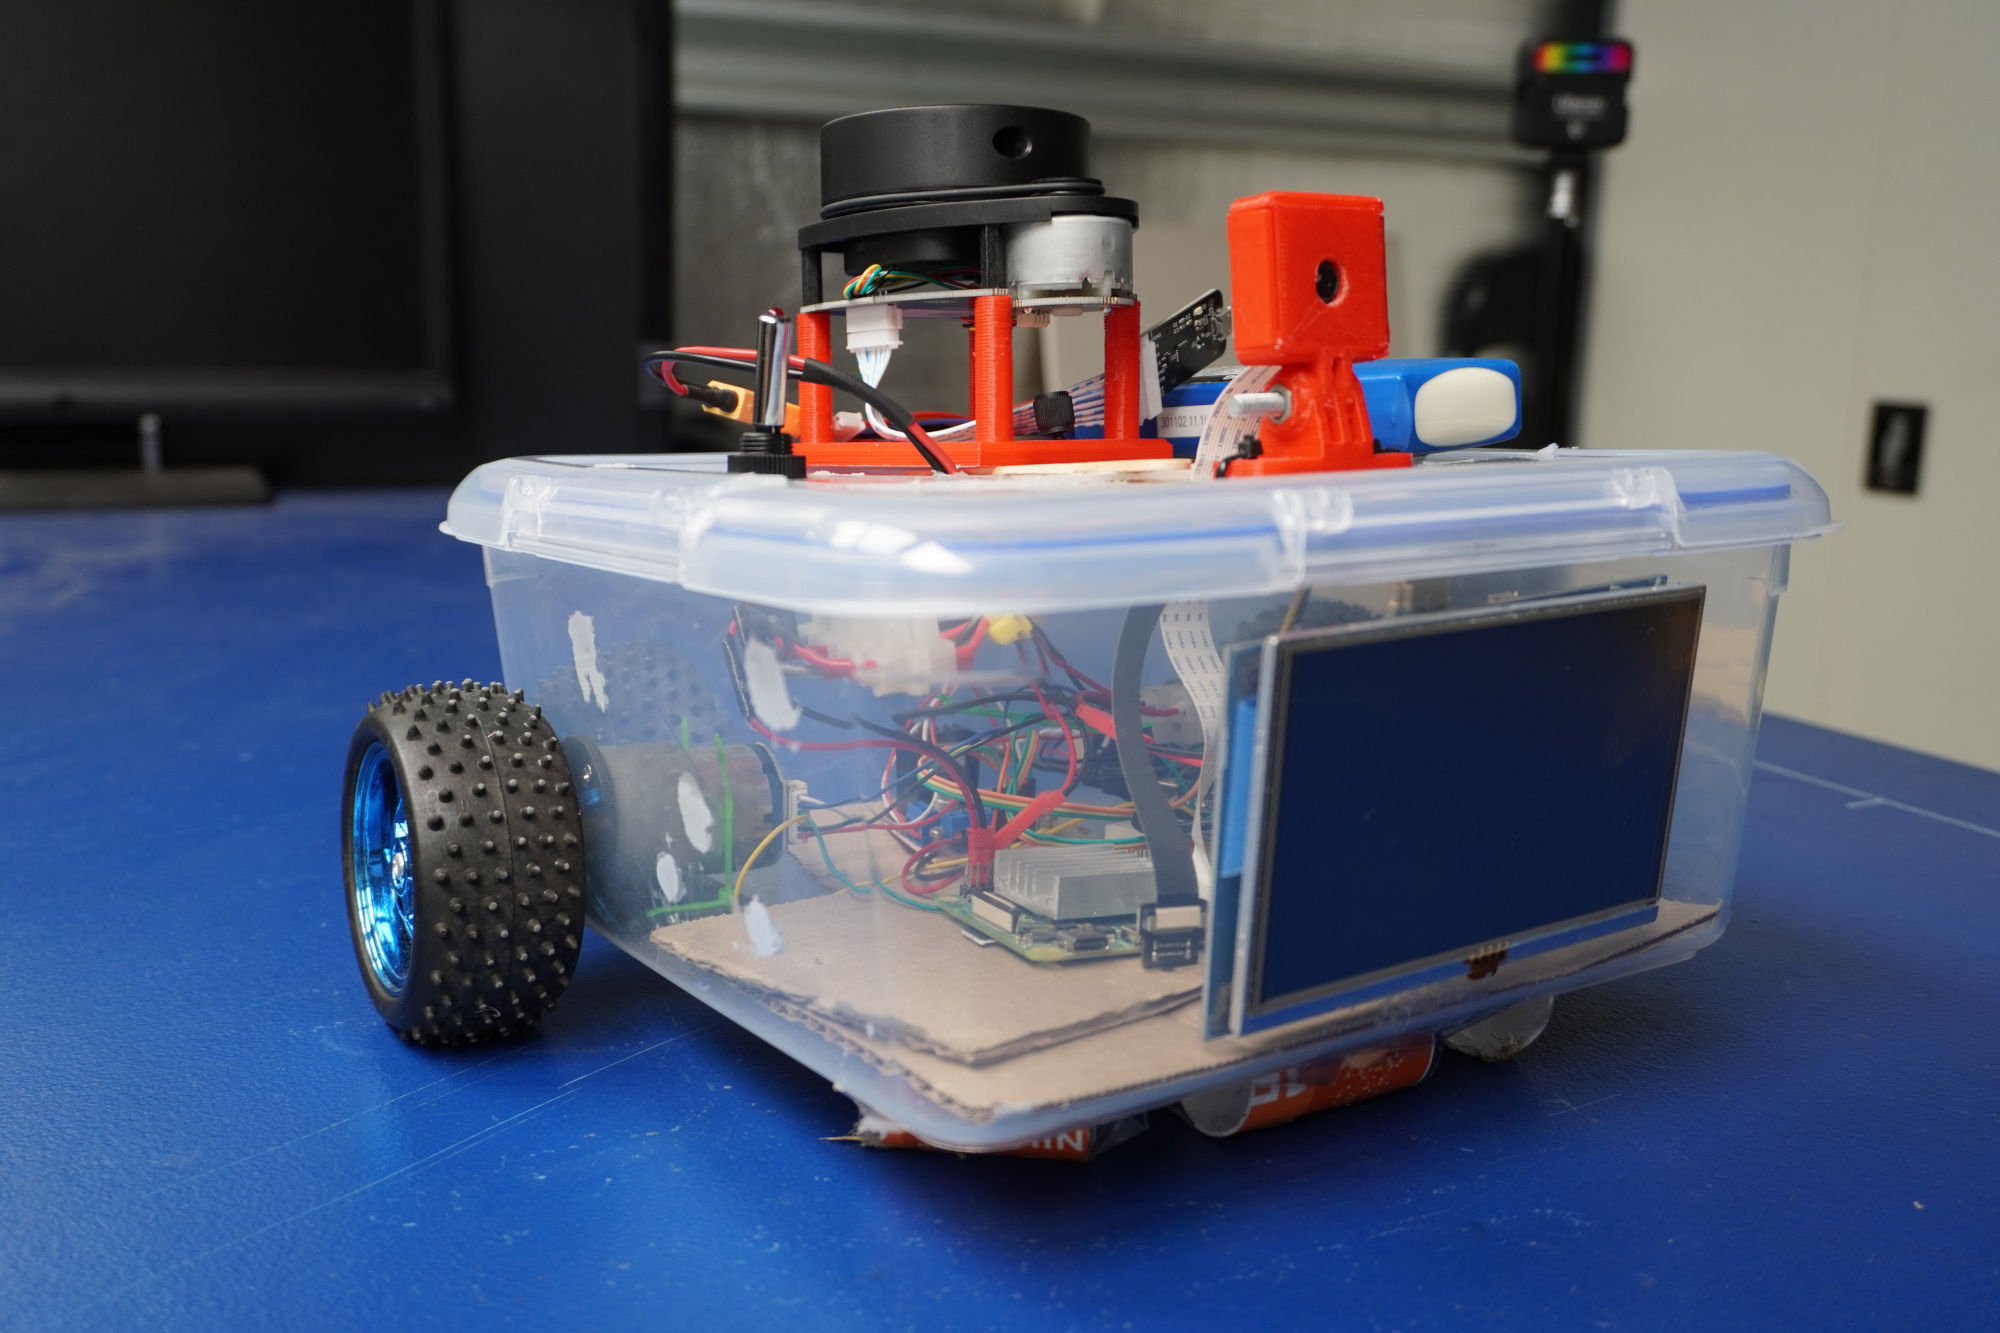
After removing the lid, we can see some of the electronics. We’ll look at this more closely in future tutorials, but for those who are familiar we’ve got a motor driver connected to a breadboard with an Arduino Nano, which handles motor speed control.
And ALL this stuff is connected to the brains of this operation, a Raspberry Pi, running Linux and ROS.

If you haven't used one before, a Raspberry Pi is basically a tiny computer. Even though it's small, it's got 4 USB ports, an ethernet port, 2 mico-HDMI ports, and you can power the whole thing with a USB-C cable. It'll be running Linux, with robotics software called ROS. If you want to know more about how to set up a Pi with Linux and ROS and stuff, I've got some other tutorials on that, so you can go check them out.
Project Breakdown
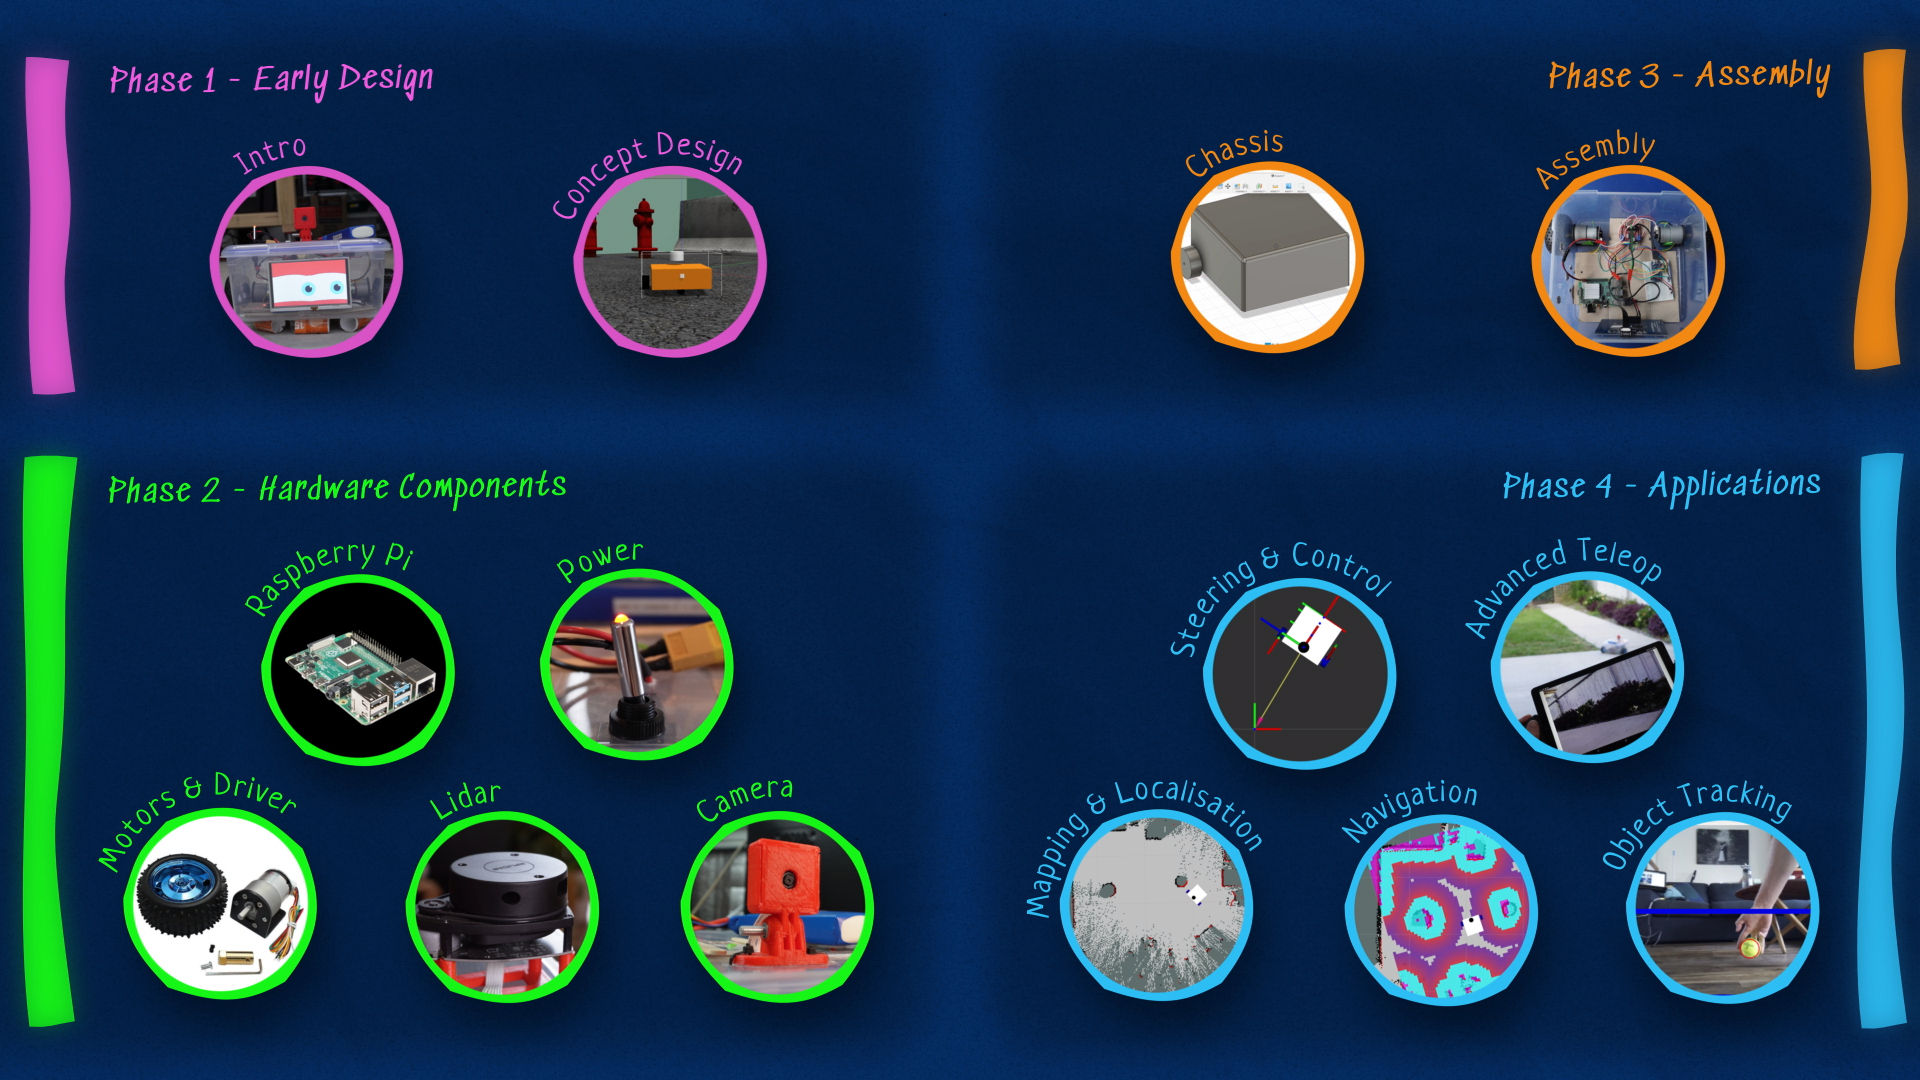
This project will be broken up into many stages and we’ll take it step-by-step. As I publish each entry I’ll come back here and update the list with links to the relevant post.
Broadly speaking, we’ll cover each of the individual hardware components and how to interface with them, then put the whole thing together and get it to do some fun things. As mentioned earlier, we’ll be covering everything in simulation as well as on a physical robot, so you’ll be able to join in even if you don’t have the hardware.
Getting Started
Now it's time to get in and do something! We're going to start by creating a package for our robot, and then a workspace on our development computer. We'll be doing the package step in-browser, so you don't need ROS installed for that, but for the workspace you will.
Making a package
What's a Package?
The software that’s going to be doing all the heavy lifting for this project is called ROS. If you don’t know what ROS is or how to install it, that’s alright, I’ve got some other tutorials you can check out later. The only thing we need to know right now is that when we’re working on a project with ROS, we keep all our code and files and stuff in something called a package. And a package is basically just a normal folder with a couple of special files in it so ROS knows what to do.

We need to make a package for our robot, and although ROS comes with a tool for this, we're going to do it a slightly different way.
Making a template
I’ve made a template of a package on the website GitHub, and this gives us two advantages. Firstly, it means that you can take the template and make your own copy and start to personalise it before you even have ROS installed, and secondly, by storing our package in the cloud on GitHub, we can then download it onto both the computer we’re developing on, as well as the robot itself, and then whenever we make changes we can push and pull from the cloud to keep them in sync.
If all this talk of ROS and packages and GitHub is going over your head, that’s fine. Just follow along with this first bit, and then you can go check out my other tutorials and get ROS installed.

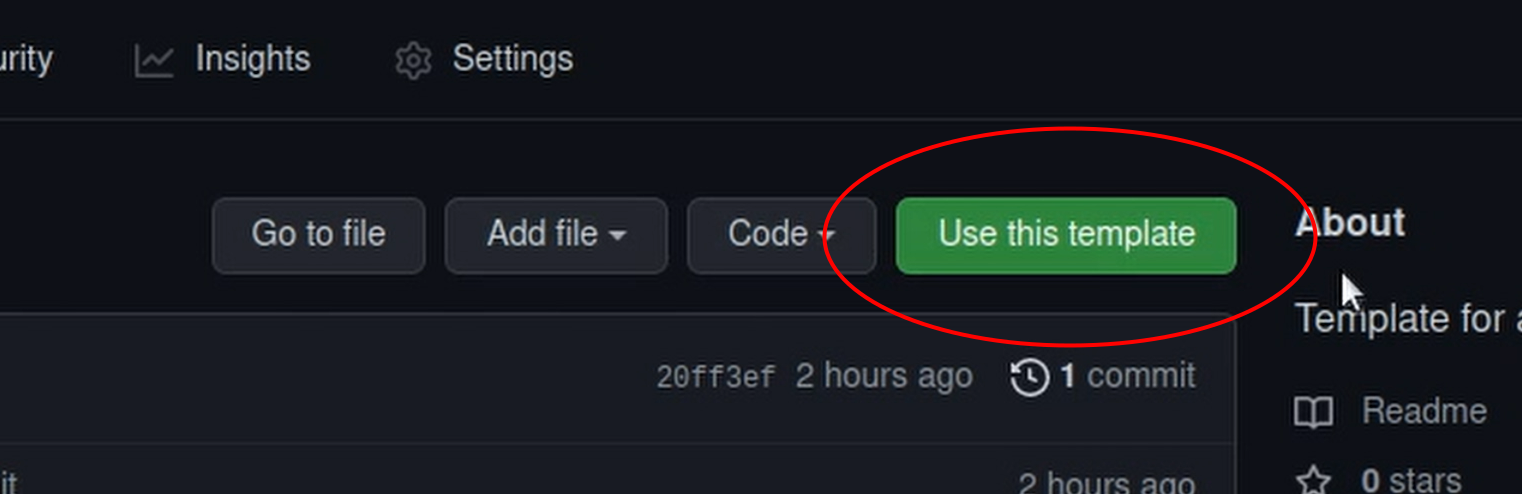
Start by heading to https://github.com/joshnewans/my_bot, and if you don't already have a GitHub account, go ahead and make one and log in. (I have a dark theme enabled so my screenshots may look a little different to yours). Once on that page, click on the green button that says "Use this template".
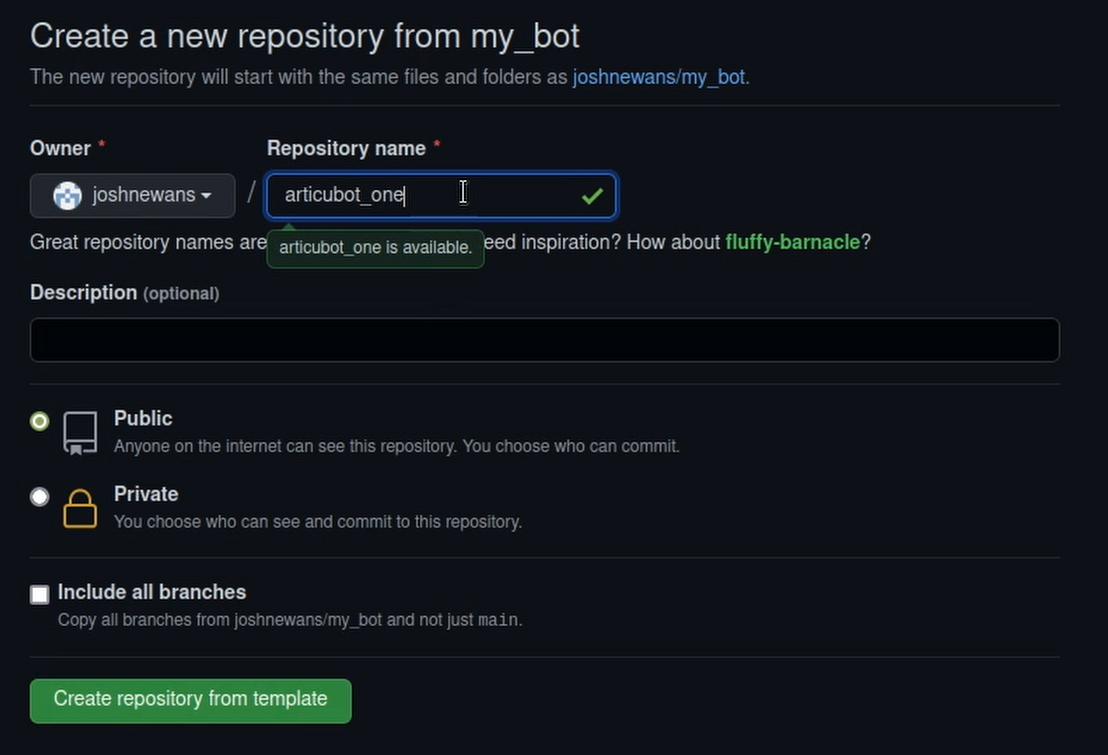
This will take the template and make you a new copy that you have full control over to do whatever you want. The first thing to do is to put in a name. If you use my_bot like the template did, then that'll save you having to do the next step. In the videos, I called mine articubot_one, so anywhere you see that or my_bot you should substitute your own package name.
Then we need to choose if we want the repo to be public or private, it's up to you (mine is public and available here).
And that’s it! You’ve now made a package for your robot. And because it’s stored on GitHub we’ll be able to clone it onto both our computer and our robot and keep everything in sync.
Changing the package name
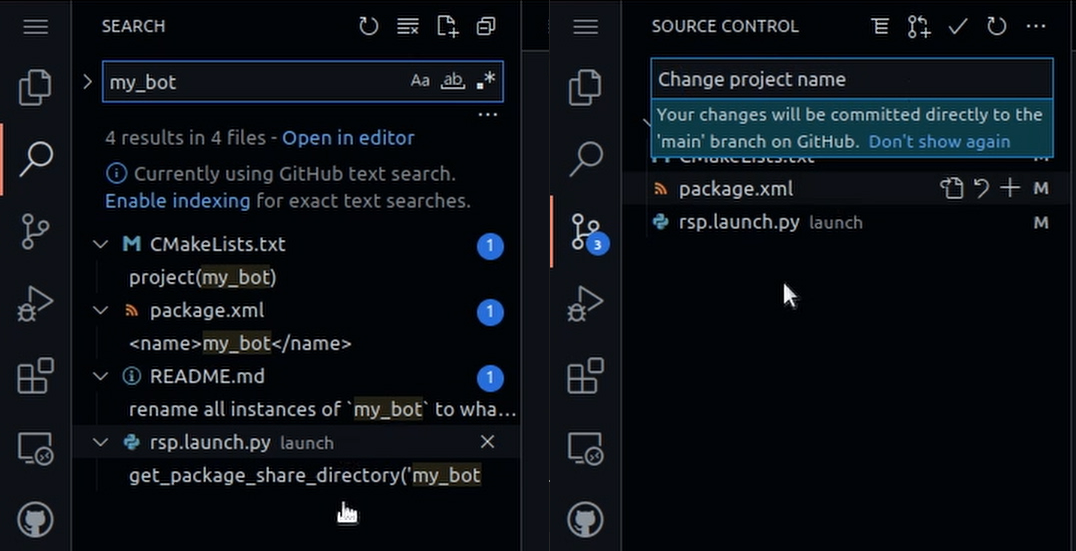
If you left the package name as my_bot then you can skip this section, but if you did change the name then you'll need to make sure you change all the references to it. To do this we can open up the GitHub built-in editor using the full-stop/period key (.). If you're comfortable, you can also just do this in your IDE later, before you build.
Using the Search panel on the left (click the maginfying glass or hit Ctrl-Shift-F), we want to replace every instance of my_bot with the new name. While we're at it, it's good to fill in the fields of package.xml with our name, email address, etc.
Then, to commit our change, click on the Source Control panel (next one down), type a useful commit message (e.g. "Change project name") and click the tick. If you go back to the main repo page and look at the files you should see your changes have been committed.
Preparing a workspace
The last step for this post is to prepare the workspace on our development machine. For this step you'll need to have ROS installed (LINKS), so go ahead and do that if you haven't already. I've also covered workspaces in a bit more detail here and here, so check those out if you're confused.
My development machine here is an old desktop running Ubuntu MATE 20.04 and ROS 2 Foxy.
We need to do the following 5 steps:
- Open a terminal (should be in the home directory by default)
- Create a directory called
dev_wsto use as a ROS workspace - Go into that and create a directory called
srcto put the packages into - Go into that and clone our package from GitHub (using SSH access - see this page for how to set it up)
- Go back up to the workspace root and build it with
colconusing thesymlink-installsetting.
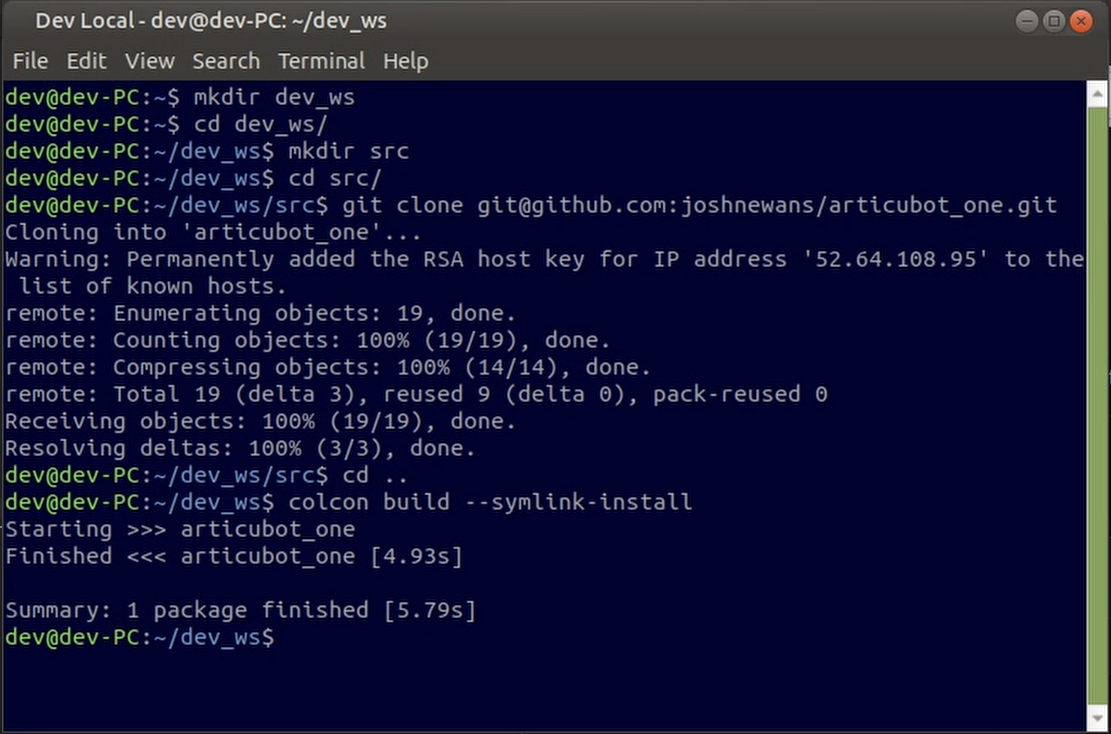
Congratulations, your (almost empty) package is built!
Conclusion
I hope the idea of this project excites you! Once you've copied the template and built your workspace (and installed ROS if you hadn't already), there are a few other things you can do:
- Check out some of the other tutorials on this blog that go through the basics of ROS:
- Find a friend to work on the project with you
- Subscribe on YouTube so you can be notified when each step is released
In the next post we’ll be looking at the design of the robot, the differential drive system, and creating a simple 3D simulation of the robot using Gazebo.
Bill of Materials
Listed below is a rough bill of materials. As the project progresses I’ll try to return here with more details, and links to the posts for that section which will go into depth.
Please be aware that the links below are examples only! Not all of these links are to the exact items I am using, and I can't make any guarantees as to the quality of the products or sellers. Also, some of the links included below (marked with a *) are affiliate links, and using those ones will grant me a small commission which helps to keep producing this content!
I’ve deliberately not included pricing, due to the large and frequent variation in currencies, vendors, and general price fluctuations, so I encourage you to do your own research and figure out the costs. If you’re doing the project with others it may be worth looking into bulk orders - it can sometimes save a lot of money!
| Item | Notes | Image | Link |
|---|---|---|---|
| Core | |||
| Raspberry Pi 4B | Other single-board/USFF computers may also be suitable, or even better (e.g. Jetson, NUC). Ensure the system is 64-bit (ARM or x86) and ideally has at least 4GB RAM. | 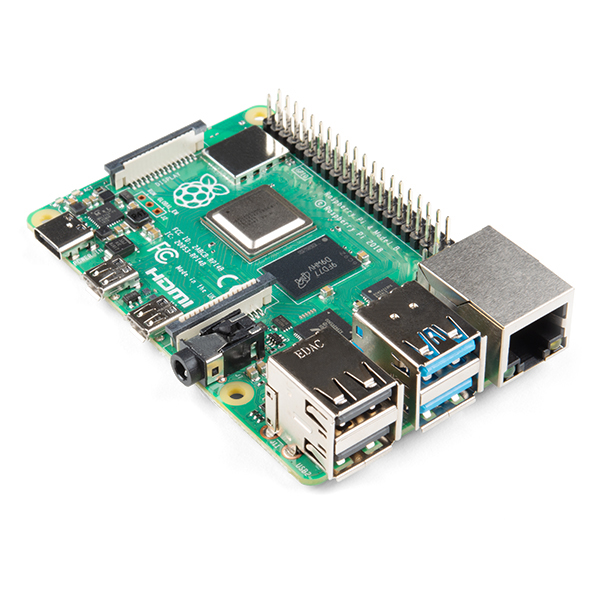 | |
| Power | |||
| 3S LiPo Battery | I’ll be basing my build around a ~12V source. You may prefer a different voltage, chemistry, or form factor (if you know what you’re doing). | 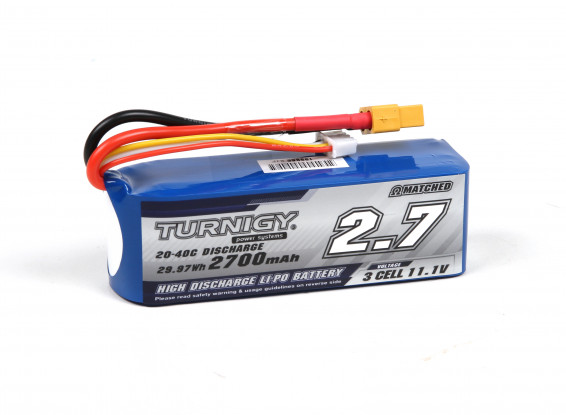 | HobbyKing |
| 5V Regulator | Switch-mode buck converter from 12V (or whatever you have) to 5V. Ensure it is capable of sufficient current. | ||
| Main power switch | 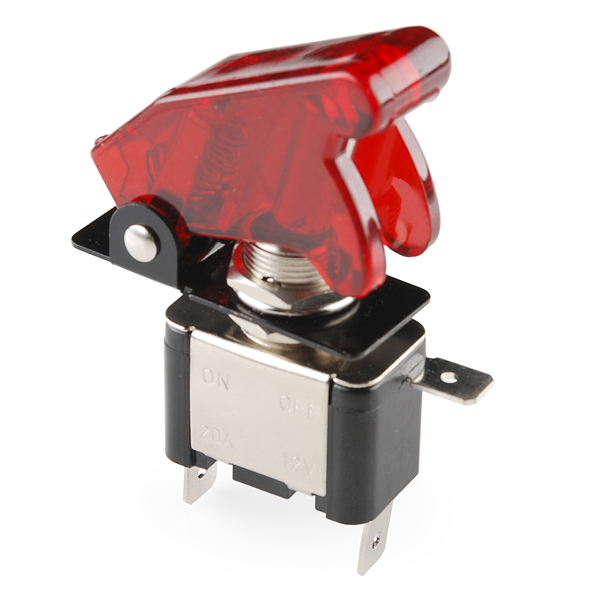 | SparkFun | |
| Momentary switch (Pi soft power) |  | Adafruit | |
| Terminal strip | |||
| Various wires | |||
| Appropriate connectors | Check the current ratings | ||
| Motor/Drive system | My drive system will be based on brushed DC motors with encoders, since these can be had cheaply, are simple to use, and pretty robust. If you want to use something more advanced (e.g. Dynamixels, ODrive w/ BLDC), be prepared to write some code yourself. Time and money permitting, I’d like to explore these as upgrades down the track. | ||
| Breadboard | |||
| Arduino (e.g. Nano) | Any of the normal chip Arduinos or clones will be fine, I recommend the Nano form factor so it can be placed on a breadboard, but the regular form factor with no breadboard is probably also fine. | 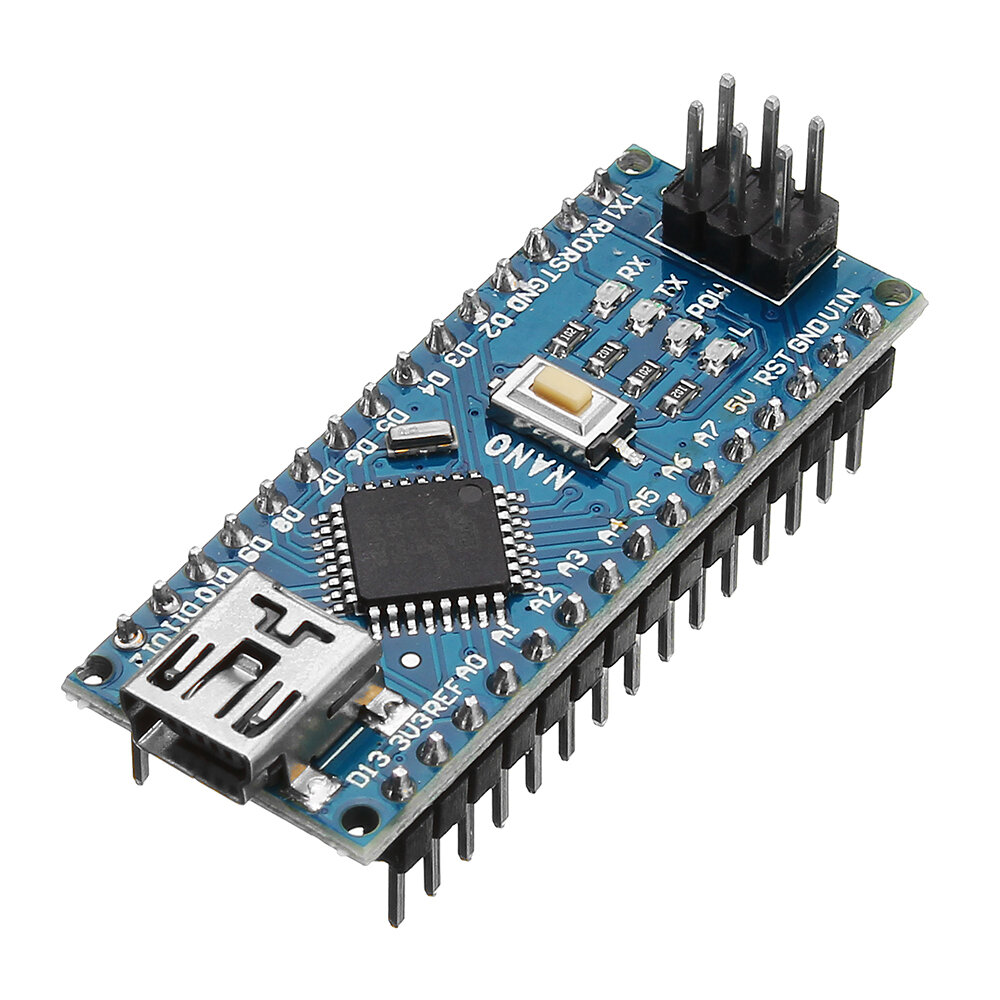 | Banggood* |
| 2x12V DC Motors w/ encoders | Make sure it has encoders as we'll need them for speed feedback! | 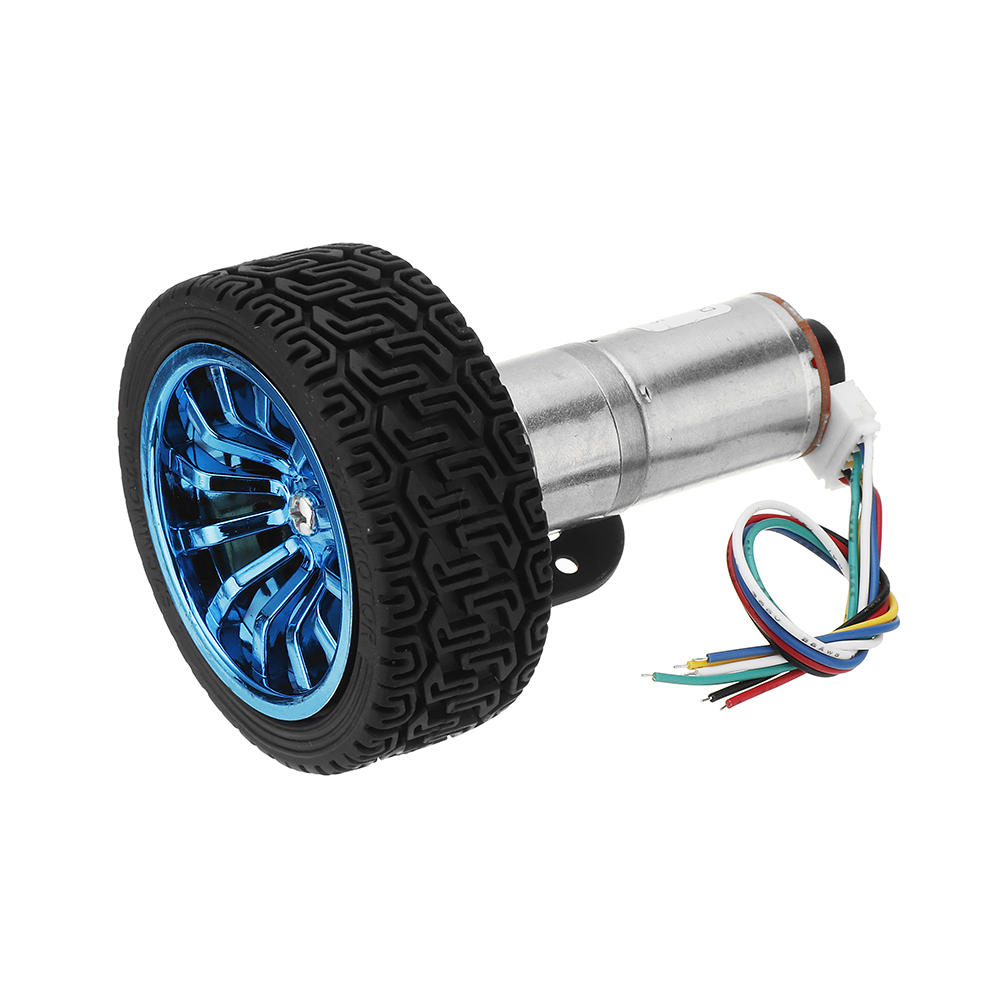 | Banggood |
| Motor driver board | I’ll be using a popular driver board with the cheap-and-nasty L298N driver. It’s pretty weak but it’ll work for my needs. If your robot is beefier you may want to check out something based on the BTS7960, but that will also require some additional coding. | 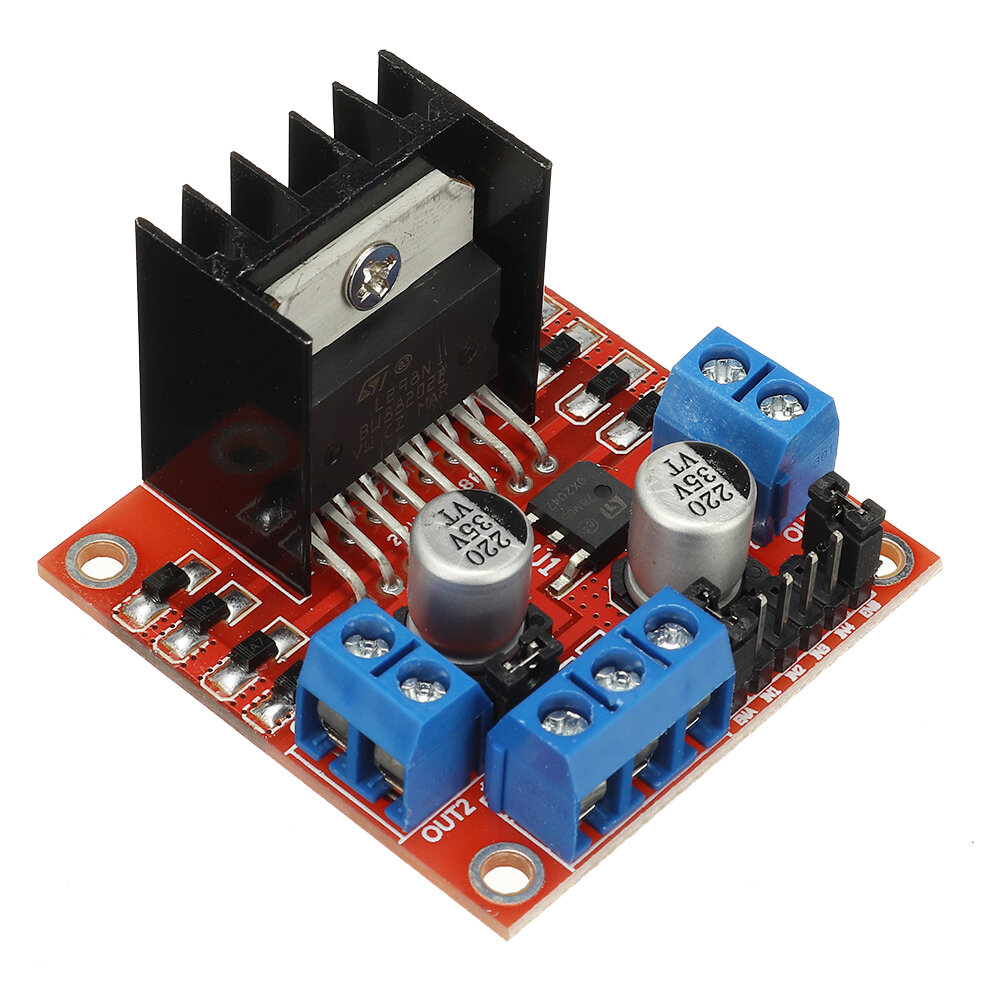 | Banggood* |
| Motor mounts | Mine came bundled with the motor | ||
| Wheels | Mine came bundled with the motor | ||
| Sensors | |||
| Camera | I’ll be using the official Raspberry Pi Camera (v2), but one of its many cheap clones will probably work fine. There are also USB cameras that will work but you’ll need to find a driver. | 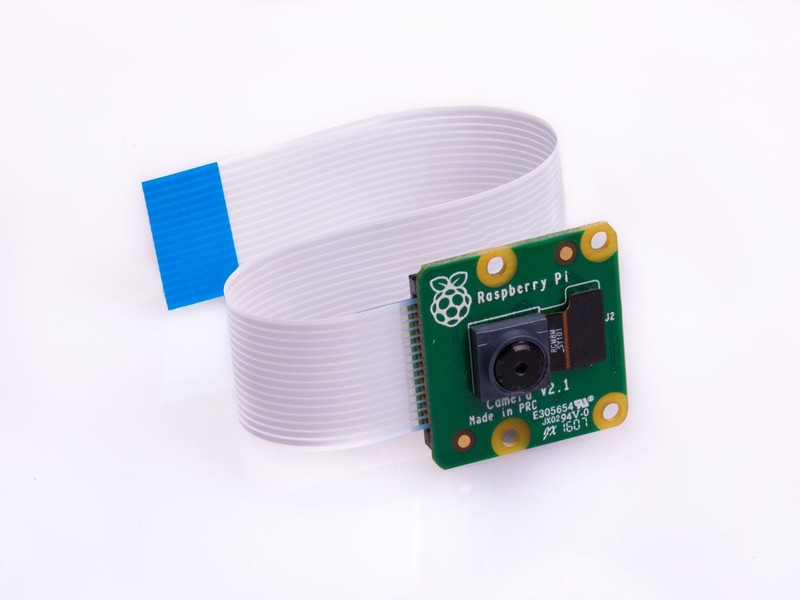 | Official Site |
| Lidar | I’ll be using the popular RPLidar A1, but there are a few similar models out there, you’ll just have to find the right driver. | 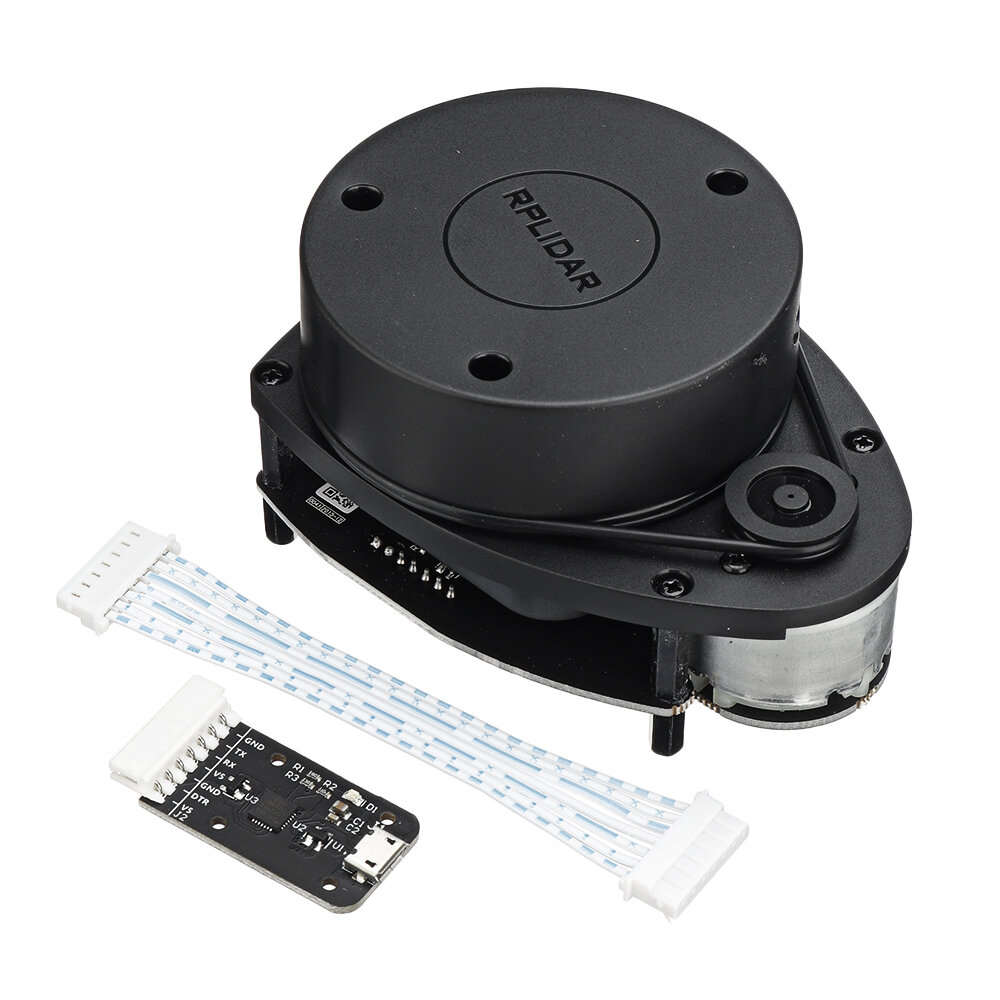 | Banggood |
| Depth Camera | As an alternative to the Pi camera (and possibly even an alternative to the Lidar) I’m hoping to demonstrate the use of a depth camera, in particular the Luxonis OAK-D Lite. Depth cameras have all the benefits of a camera, with the addition that we can do some SLAM and 3D reconstruction more easily. |  | Luxonis |
| Chassis | These are some of the parts I'll have, but I encourage you to come up with your own design! | ||
| Main structure | |||
| Caster wheel/s | 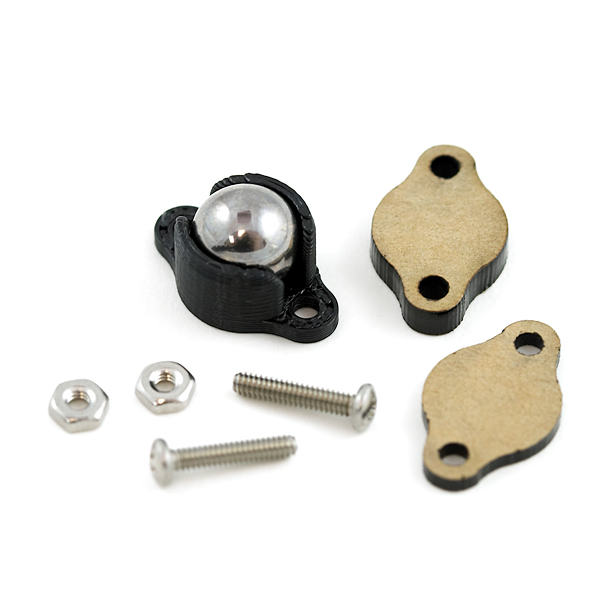 | ||
| Screws, bolts, cable ties, etc. | |||
| Useful extra things | |||
| Display | The link is just an example (not the one I've used). There are a variety of sizes, resolutions, interfaces (HDMI/DSI), and touch types out there to choose from. | 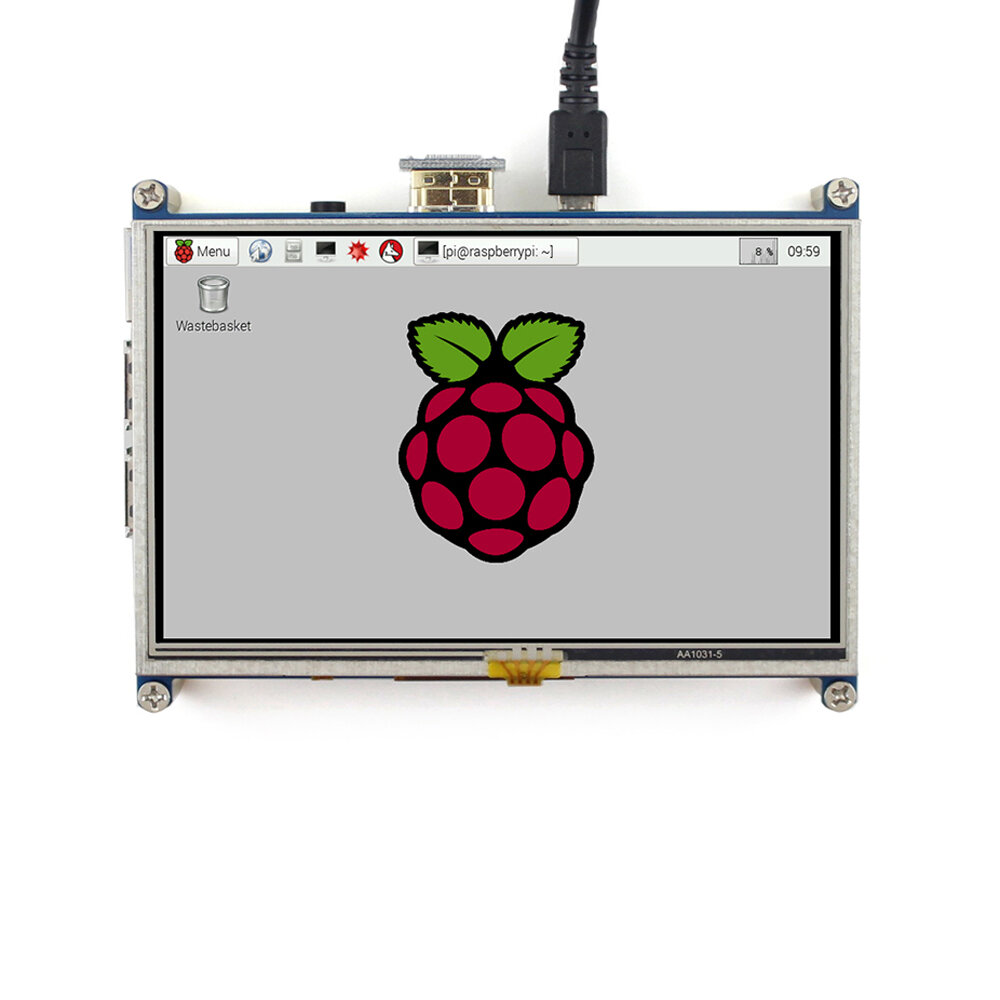 | Banggood* |
| Panel mount connectors | e.g. USB, HDMI |  | Adafruit |
| Battery charger | 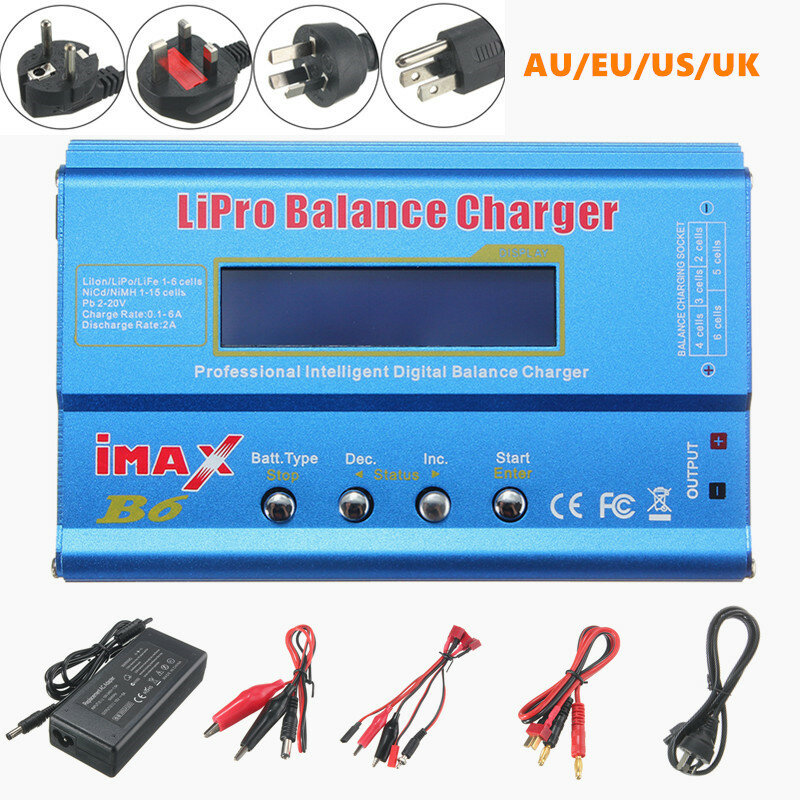 | Banggood* | |
| 12V Power supply | You may be able to use the same one as the battery charger (check voltages and currents) | ||
| Bluetooth game controller | I've included a link to the same controller I'm using (not the same seller). I wouldn't necessarily recommend it though, so maybe shop around... | 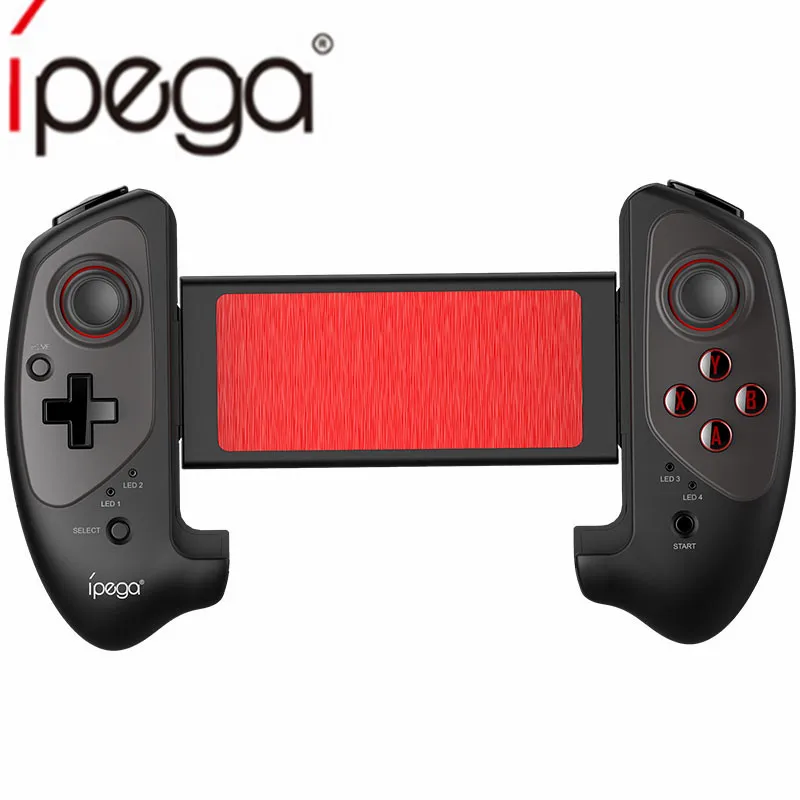 | AliExpress |