The Brain - Raspberry Pi
It’s time to start working on hardware! In this post we’re going to get the brains of our robot set up, that’s the Raspberry Pi.
Many of the tasks required for this have been documented well elsewhere by myself or others, so rather than going in-depth into everything, see this as a kind of checklist for things you need to have sorted before you move on.
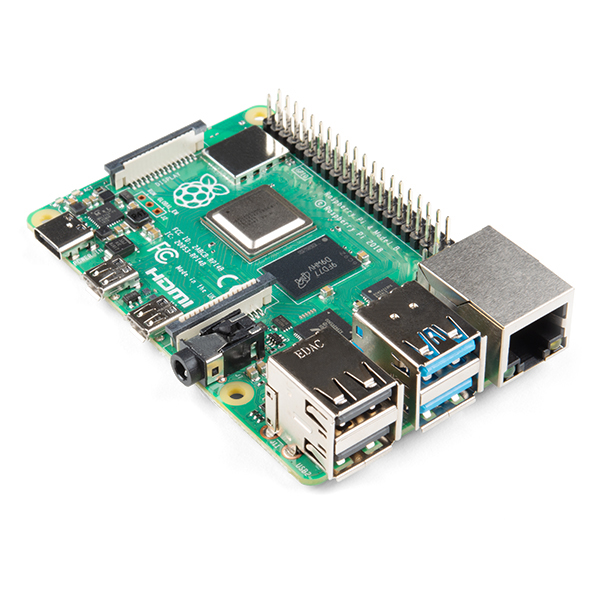
1. The Raspberry Pi
Our robot needs a computer to run it. While some simple robots out there will run on chips like an Arduino, those just aren’t powerful enough to run software like ROS. For that we need something with a bit more grunt, the kind of chip you’d find in a phone or even a computer.
The obvious choice is the Raspberry Pi (4B or 5) due to its ubiquity, relatively low price, and high degree of community support. It also has GPIO pins and exposes other low-level protocols which may be useful in the future, although we won’t make too much use of them in this project.
It’s not the only option out there though. Other SBCs (single board computers) such as the Nvidia Jetson Orin Nano may be a good option - especially for people who are keen to explore more GPU-heavy tasks such as deep learning. Even a more typical standalone computer such as a laptop or an Intel NUC may be appropriate in the right circumstances.
The important requirements are listed in the table below:
| CPU | Must be 64-bit (either x86-64 or ARM64) |
| RAM | Recommend 4GB+ (2GB will probably work, but be ready to do some tweaking) |
| Storage | Recommend 16GB+ (as with RAM, less is possible if you’re willing to put up with it. High capacity and high speed is good.) |
| Power | If the computer doesn’t have its own battery (i.e. a laptop), you’ll need to find a way to power it. Boards that are 5V, fairly low current (e.g. 2A) are very suitable. For bigger projects, something that accepts 12-24V with the appropriate power hardware. |
2. OS
To run ROS easily, we want our OS to be Ubuntu Linux. This series will be using the Jazzy version of ROS 2 which means it needs Ubuntu 24.04 Noble to be compatible. There are various flavours of Ubuntu available, this tutorial will assume you are using Ubuntu for Raspberry Pi (the previous version of this tutorial used Ubuntu MATE which is no longer available for Raspberry Pi).

If you’ve never installed an OS on a Raspberry Pi before, it’s fairly straightforward and there are many tutorials online. In this case we can follow the official tutorial (even if it is a little out of date)
Take care here, it needs to be version 24.04, and Pi / ARM 64-bit (or Intel/AMD 64 for normal processors)!
(For some other notes, see this tutorial)
3. Other Software
As covered in my other tutorial, you’ll want to install some other software before moving on. Some key ones will be:
- git (
sudo apt install git) - SSH (
sudo apt install openssh-server) - VS Code (
sudo snap install --classic code, not totally necessary but can be handy in a pinch) - Arduino IDE (follow the instructions on the Arduino website. Note, this may change soon so feel free to leave it off for now)
4. Network and Remote Access
Next up the Pi needs to be on the same network as the computer we using to develop, and we need to be able to access it without a screen plugged in, using SSH (you may like to set up other remote access methods too). It should also have access to the internet so that we can install new packages as we go.
I’ll be using a travel router to create a dedicated network, and Netplan to configure the network settings, check out this post for more details.
5. ROS installed
Next up, we want to get ROS installed. Hopefully by this point you’ve already managed to install ROS on a computer for development (perhaps a spare computer or in a VM). The process of installing it on the Pi is exactly the same.
Check out my other post on the matter which covers the three main steps:
- Installing the main ROS packages
- Installing colcon
- Configuring your environment
6. Workspace & Package
To check that ROS is somewhat working, have a go at creating a workspace, cloning your package, and building it. Hopefully you've got the hang of it by this point, but here's a tutorial just in case.
I'll be naming my workspace robot_ws to distinguish it from the one on my development machine (dev_ws), so the commands will look something like:
~$ mkdir robot_ws
~$ cd robot_ws
~/robot_ws$ mkdir src
~/robot_ws$ cd src
~/robot_ws/src$ git clone <your package repo address>
~/robot_ws/src$ cd ..
~/robot_ws$ colcon build --symlink-install
Remember you’ll need to add your SSH key to your GitHub account, just as you should have on your development computer.
7. Cooling
One thing to be aware of when working with a Raspberry Pi is that they can get pretty hot, since they don’t have any sort of onboard cooling. It’s worth considering attaching at least a heatsink.
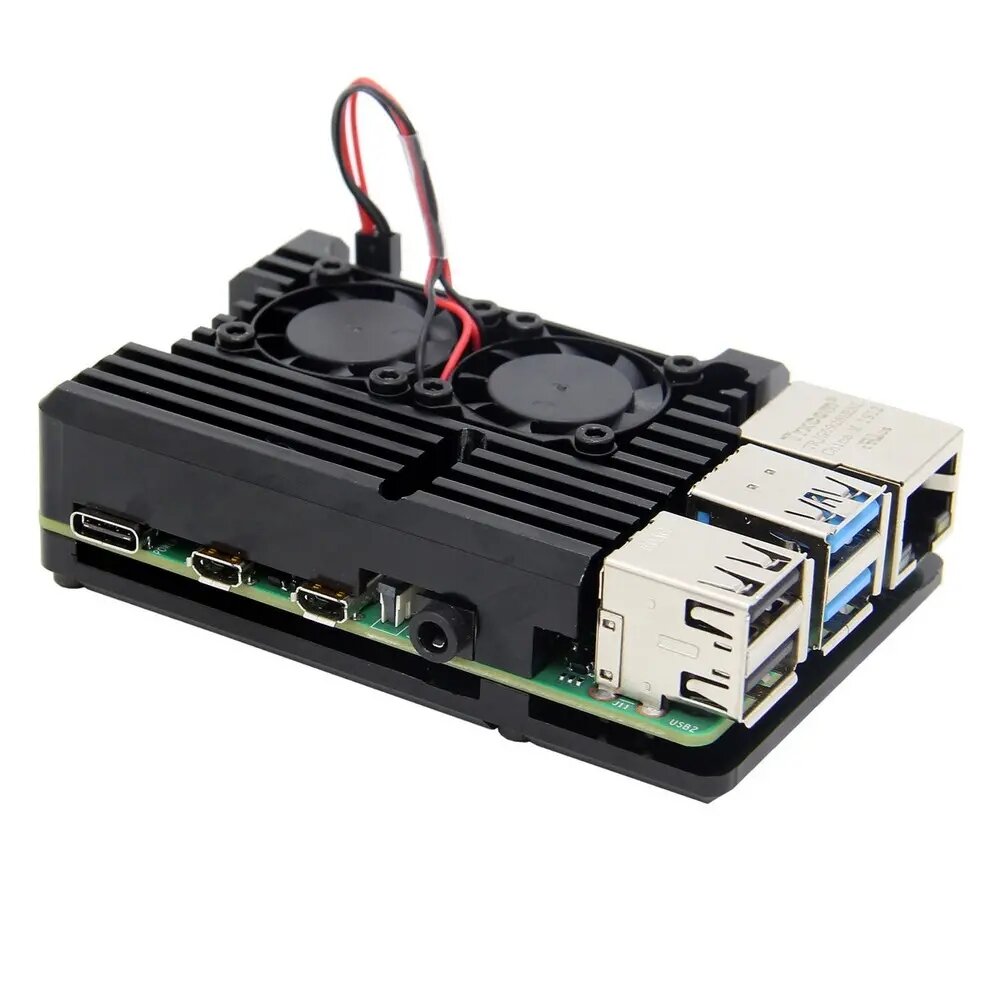
I’m going to be trying out this heatsink case that I bought, it came with some little fans and everything, so we'll see how that goes. My biggest worry is that it blocks the camera header pretty badly, so I don't want to put it on until I've got the camera cable in. If you want to get this one here is an affiliate link (a different supplier to the one I bought, but I think it is the same case).
8. USB Hub
One thing I’ll be adding that I didn’t have in my last build is a USB hub. This is partly so that I can have easier access to more USB ports, but mostly because I’m concerned that I’m getting close to the current limits of the onboard ports in my prototype. By using a hub and running power directly to it, we can reduce the current flowing through the Pi's board. Here's a (non-affiliate) link to the one I got.

We’ll explore this in more detail soon when we look at power.
Conclusion
Now that we’ve got our Pi, installed Ubuntu, installed other software, set up our network, installed ROS, and cloned our package, we’re ready to move on to the next step - power! Some other things you could look at in the meantime are running software on startup, or setting up soft power-off, but these will be covered in a later post.