Alternative Installation Options
Overview
When getting started with robot development in ROS and Linux, it's often simplest to have a dedicated computer with Linux installed. For some people though, this just won't be an option and they'll need to repurpose hardware that already has an existing purpose (maybe even the device you're reading this on).
We're going to look at three alternative ways to install Linux and ROS that can utilise your existing hardware. These range from "easiest to start and most likely to cause trouble in the future" to "hardest to start but unlikely to have future issues". The methods are:
For all three of these methods, keep in mind that the version of Linux assumed for these tutorials is Ubuntu MATE 20.04 Focal Fossa.
Virtual Machines
What is Virtualisation?
Virtualisation is a process where we can run an entire other operating system (the guest) inside our current one (the host). This is achieved with virtualisation software, which creates a virtual machine (VM). By using a VM we can more easily try out new things, and then once we're finished we can just delete it (if required). Depending on their needs, some people will create multiple VMs a day, while others might create one and use it over and over for years.
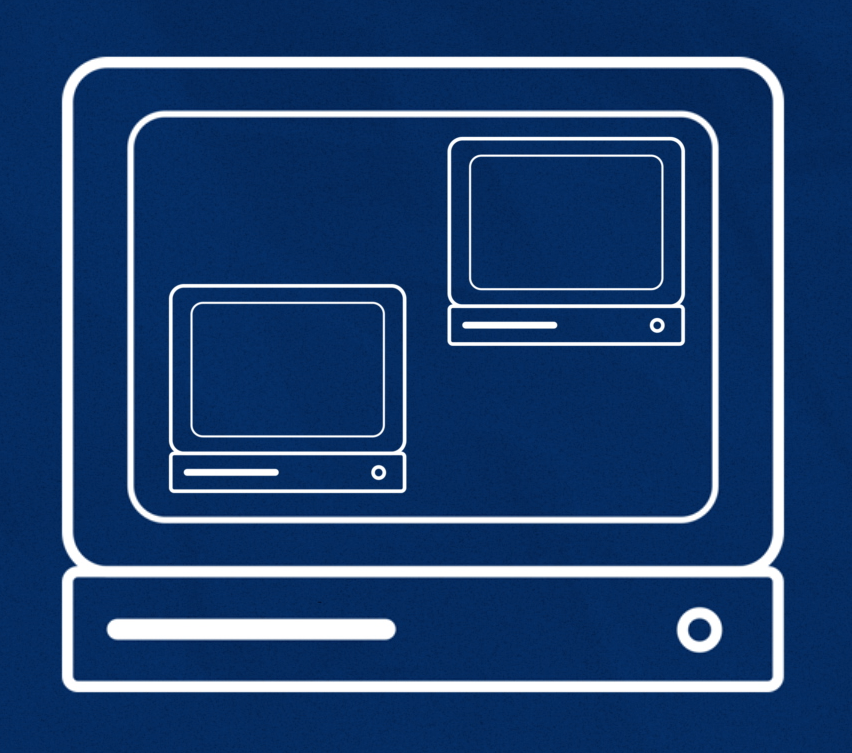
The "hard drive" for the VM exists simply as a file (or group of files) on the host's filesystem, and will start small and grow as more space is consumed by the guest.
What issues does virtualisation have?
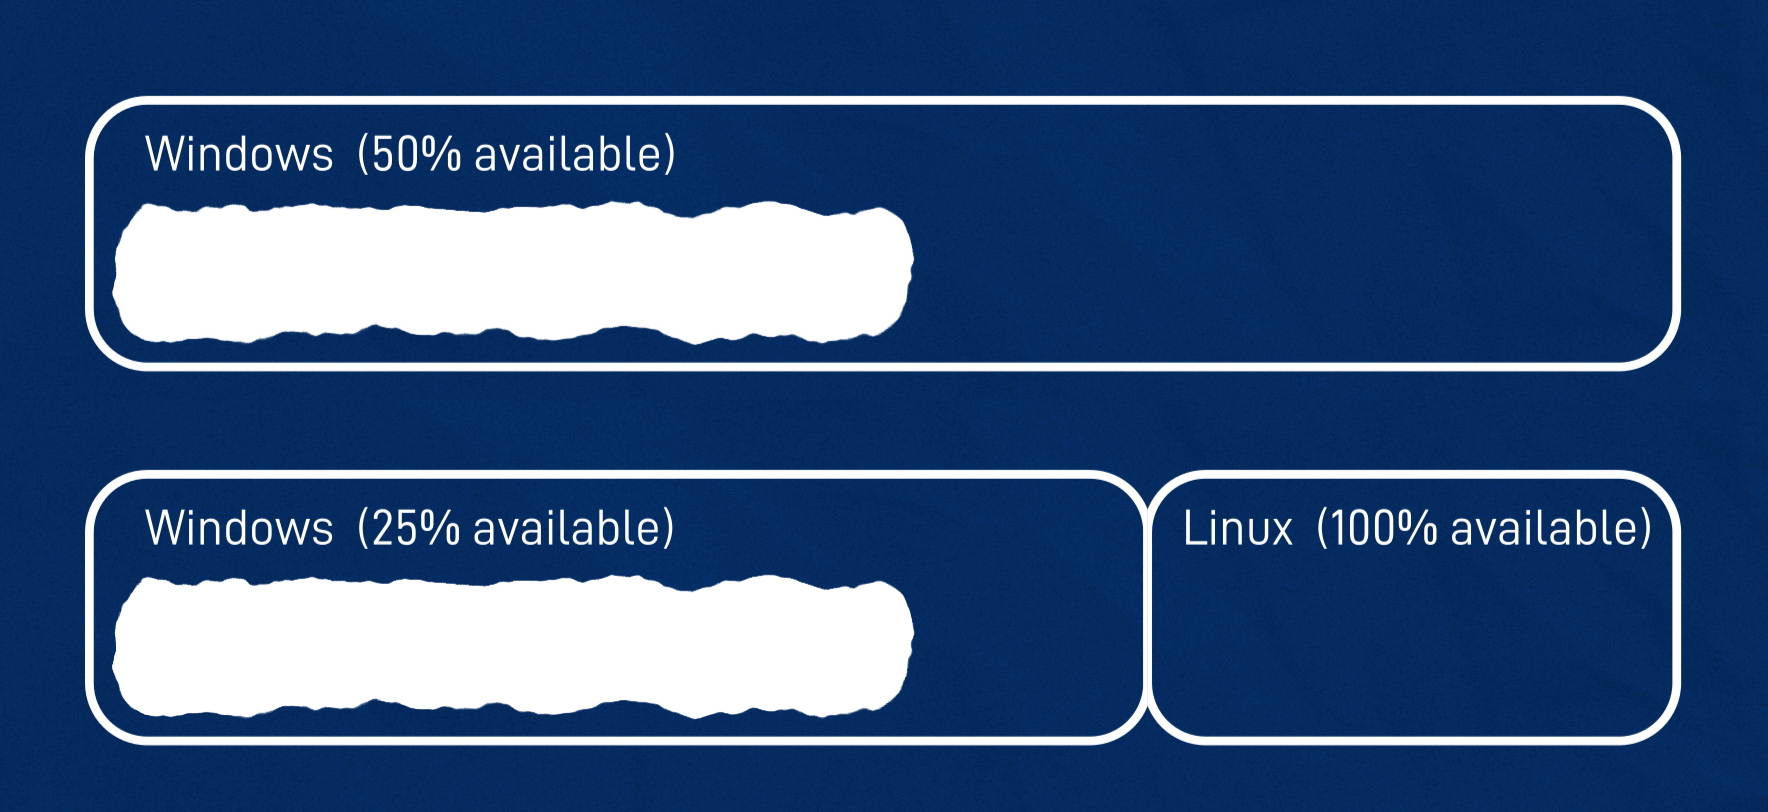
The biggest issue with VMs is that they must share the hardware with the host OS. This leads to (at least) three notable limitations:
- The computing resources are split between the host and the guest, e.g. if the computer has 8GB of RAM installed, and the guest requires 4GB, the host will only be left with 4GB.
- The VM won't be able to access the graphics hardware (GPU/video card) in the same way the host can, and instead goes through a kind of "virtual graphics card". Modern virtualisation software can often manage this very well, with good performance, however there will still often be issues, especially when it comes to 3D graphics (which is why VMs are not often recommended for gaming).
- Access to external hardware/networks can sometimes be tricky. When connecting to hardware (e.g. a camera, lidar, Arduino) it won't always know which OS to communicate with, and some extra configuration is required. Likewise, when integrating in more complex networks it can require some extra configuration to get everything communicating correctly.
The older the hardware, the more likely it is that this approach will cause some hurdles down the track, but ultimately the barrier to entry is pretty low - so it's definitely worth giving it a shot before moving to the other options!
Installing Linux in a VM
There are a few virtualisation software packages out there (both free and paid), and two popular ones are VirtualBox and VMware Workstation Player. These packages are both designed to be (comparatively) user-friendly and are quite similar.
While I would normally recommend VirtualBox as its licensing is a little more open, in a recent test I performed I was able to get ROS and Gazebo with 3D graphics running almost flawlessly out of the box on VMware, and was unable to achieve any kind of acceptable 3D performance in VirtualBox. As a result, the video demonstrates installation with VMware, however others may have a different experience with different hardware so it is worth trying out both with various graphics acceleration options (and make sure you install the VM tools/Guest additions).
For the full tutorial, check out the video, but here are a few brief notes:
- In the video I used the "I will install the operating system later" option, however the "Easy mode" of selecting the ISO file up front should work just as well.
- When selecting the OS, ensure
Ubuntu 64-bitis selected, NOTUbuntu. - Ubuntu should come with
open-vm-toolspreinstalled, however these can also be installed manually through the menus.
Partitioning a drive
If your computer's hardware isn't capable of running Linux (and ROS/Gazebo) in a VM, the next cheapest route is to partition your hard drive. This involves utilising some free space on the same drive that is currently running Windows (if you have a Mac, sorry this is more complicated) for your Linux installation and then choosing which one you want when the computer starts up.
Of the three methods this is the one with the highest risk of something going wrong (e.g. deleting Windows), so if you aren't comfortable with this process then consider asking someone more experienced for help in setting it up. Once things are up and going, everything should work fine.
One other thing to be aware of is whether your PC and hard drive are set up to use UEFI/GPT or Legacy/BIOS/MBR. The YouTube clip linked below demonstrates how to check this, as does this link.
Here are a couple of guides I found online that walk through the process of partitioning Windows and installing Ubuntu:
Sometimes there can be conflicts between Linux and Windows, and one may prevent the other from booting. If this happens, search around online with the symptoms you are seeing and there will almost certainly be a solution out there!
Adding another drive
If the PC in question is a desktop*, another great option is to add a new drive and install Linux on that. SSDs can be had for a reasonable price, and 500GB is more than enough room, even something as low as 120GB will probably be ok for hobby work. Check out this link (Amazon Affiliate Link) for an example of a cheap SSD.
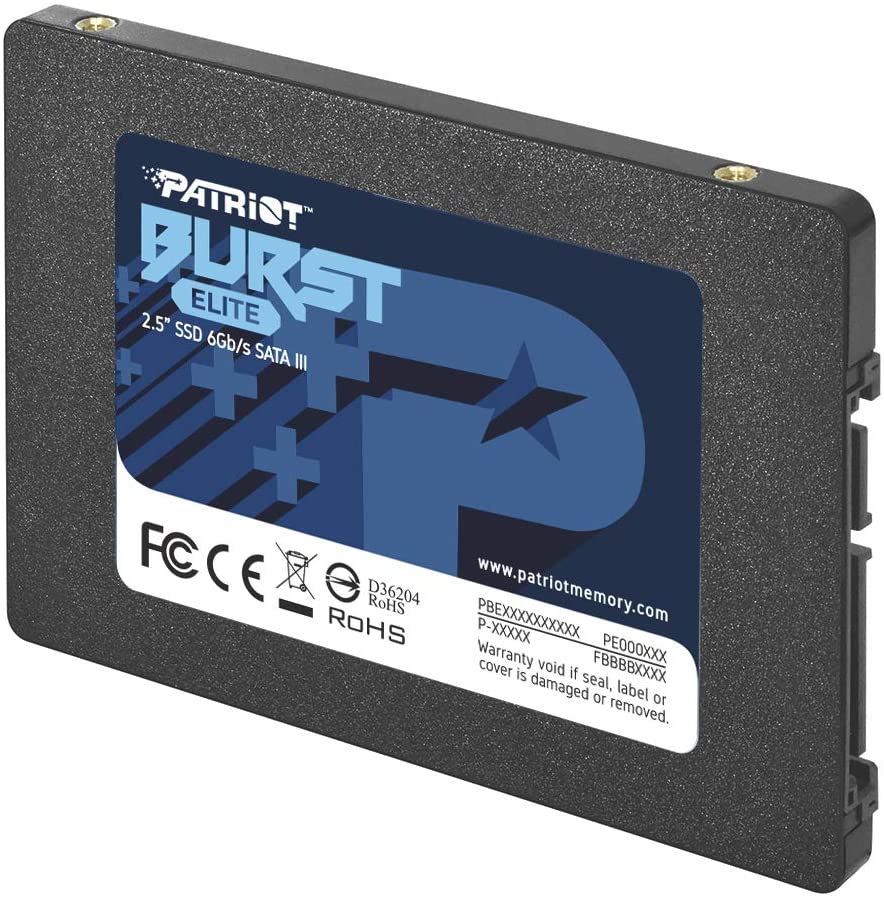
After supplying power from your PSU and adding an extra SATA cable, it should be fairly straightforward to boot from a USB and install to the new drive (make sure you get the right one!).
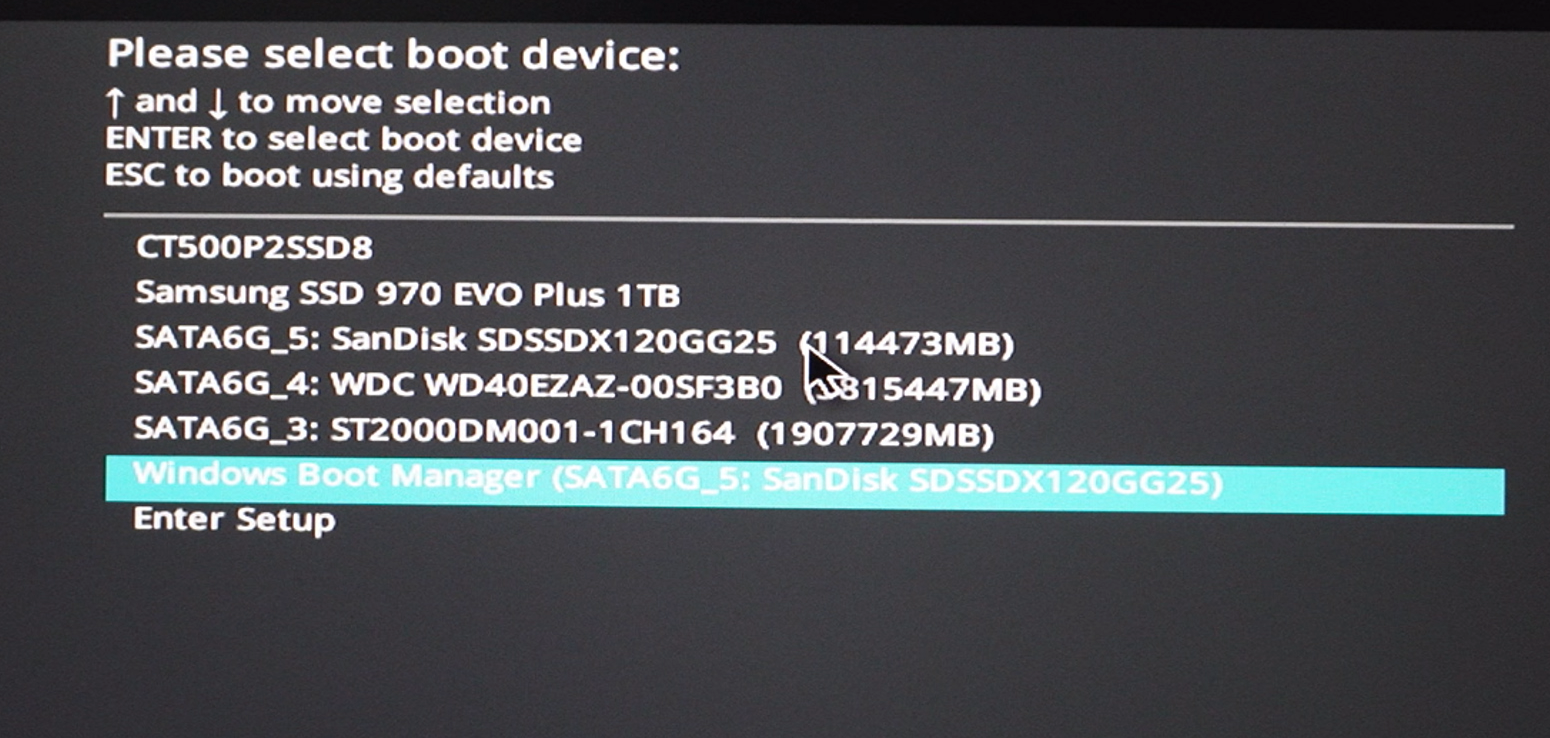
When it comes to setting up the boot options, there can be even more complications here than with a partition. When using multiple drives, I find the most reliable (if tedious) method is to keep Windows and Linux with their own boot information on completely separate drives, and simply use the BIOS boot selector to choose which I prefer (and setting a sensible default).
It will usually be possible to configure the bootloader appropriately and avoid this, but may require some effort depending on the circumstances.
Certain models of laptop can also have multiple drives installed. My laptop has the capacity for an NVMe drive on the motherboard as well as a 2.5" SATA drive. I wouldn't be surprised if I could also convert the optical drive bay to add a third! Take a look online for specs or a teardown of your model, and you might also need a guide for disassembly and reassembly if the drive is not easily accessible.
Other Options
When it comes to installing ROS on an existing PC, there are some other options that (sort of) don't involve installing a new OS at all. These include:
Note that of the guides linked above, the WSL and Docker guides are for ROS 1 but should still be relevant. I have not personally used any of these methods to run ROS on Windows, but I do use ROS in Docker on Linux regularly.
These are great tools for a ROS developer to understand, however they are (currently) even more sensitive to configuration issues than the previous options in this post. As such, for a beginner (especially anyone who is a beginner to Linux or software development in general) it is best to be working with a fully dedicated Linux OS, ideally on dedicated hardware.
Conclusion
While it can be convenient to have a dedicated Linux computer for ROS development, in many cases this just isn't practical. The three approaches explored here (Virtual Machines, partitioning, additional drives) offer some alternative methods for someone to get up and running if they can't spare a dedicated computer. Hopefully one of them will be suitable for you!